Introduction
Kitchen cabinet doors are more than just a façade. They protect our dishes and food, keep our kitchens tidy, and significantly influence the room’s aesthetic appeal. But when they’re damaged or outdated, they can detract from the kitchen’s functionality and style. That’s where this comprehensive guide comes in, covering everything from repairs to custom creations. You’ll learn how to address cracked doors, make adjustments for a seamless close, and even dive into DIY projects for making your own doors, whether from plywood, MDF, or incorporating glass elements. For those looking to refresh their kitchen’s look or repair wear and tear, we offer step-by-step instructions on replacement, hinge installation, and maintaining the beauty of wood doors. And if you’re seeking personalized solutions, don’t hesitate to reach out. Join us as we explore the essential tips and tricks for keeping your cabinet doors in top shape, enhancing the heart of your home.
In the following sections, we’ll delve into the specifics of cabinet door maintenance, repair, and creation. Each segment is designed to equip you with the knowledge to tackle any cabinet door project, ensuring your kitchen remains both functional and stylish. With a focus on practical advice, this guide is your go-to resource for all things cabinet doors. Let’s enhance your kitchen’s aesthetics and functionality together!
Section 1: Understanding Kitchen Cabinet Doors
Diverse Styles of Cabinet Doors
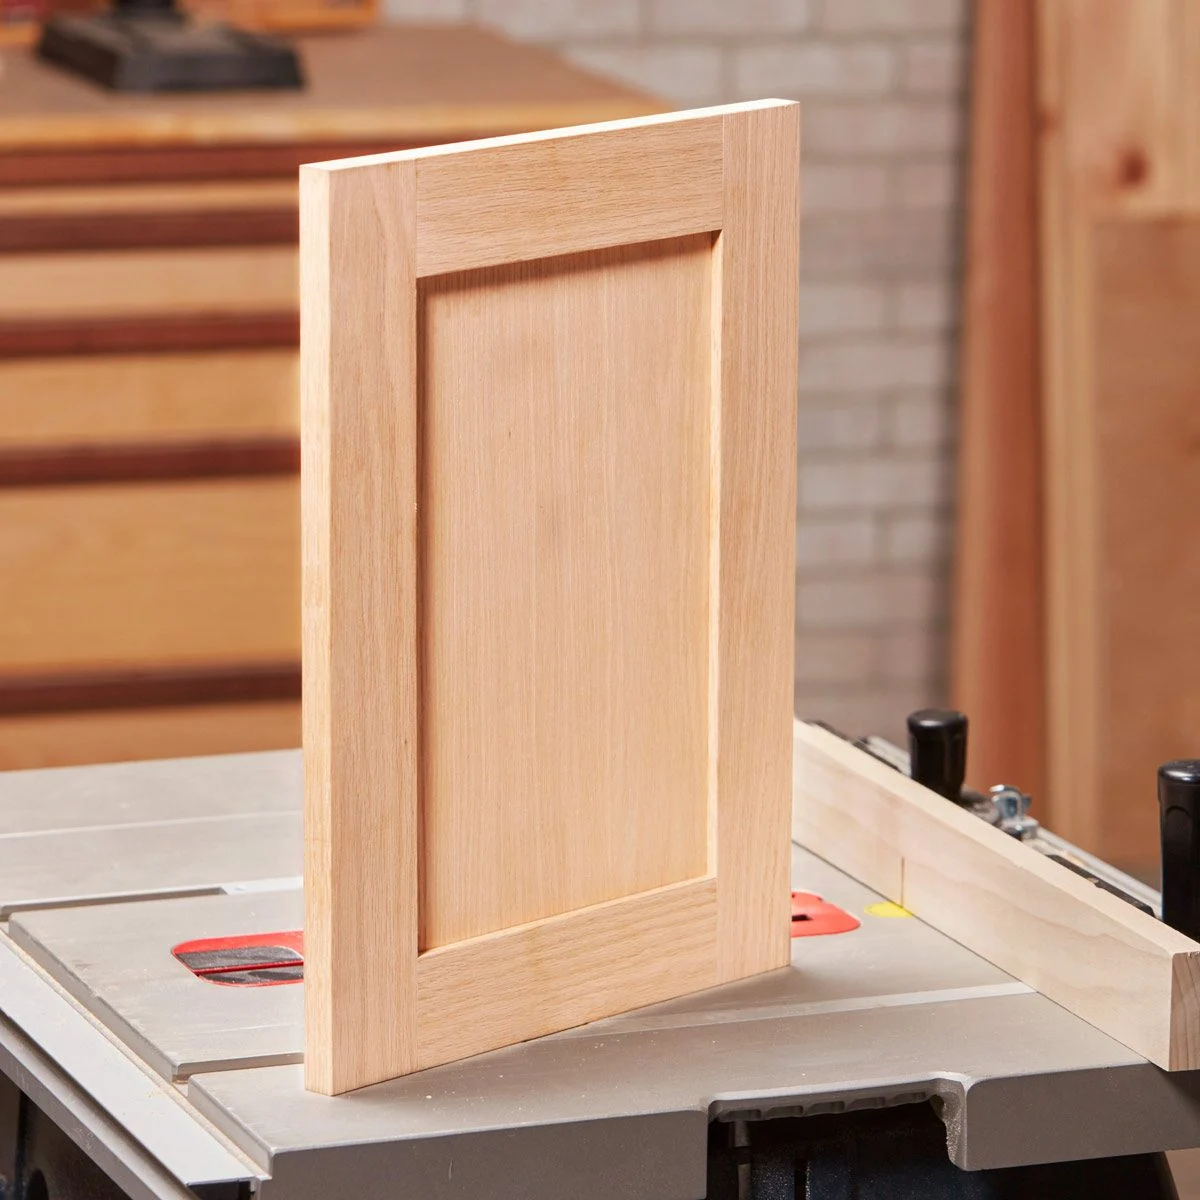
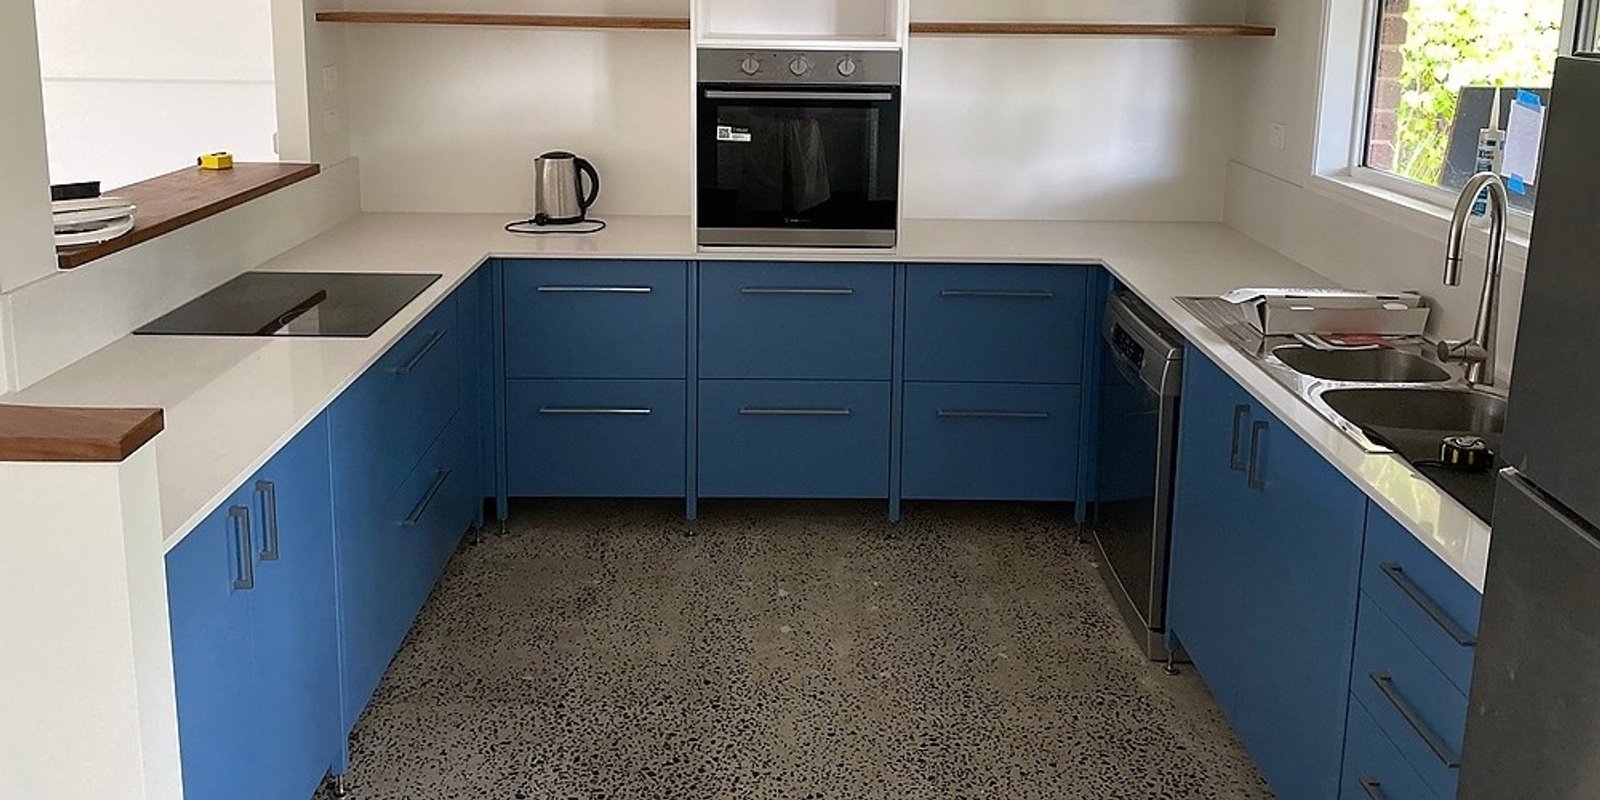
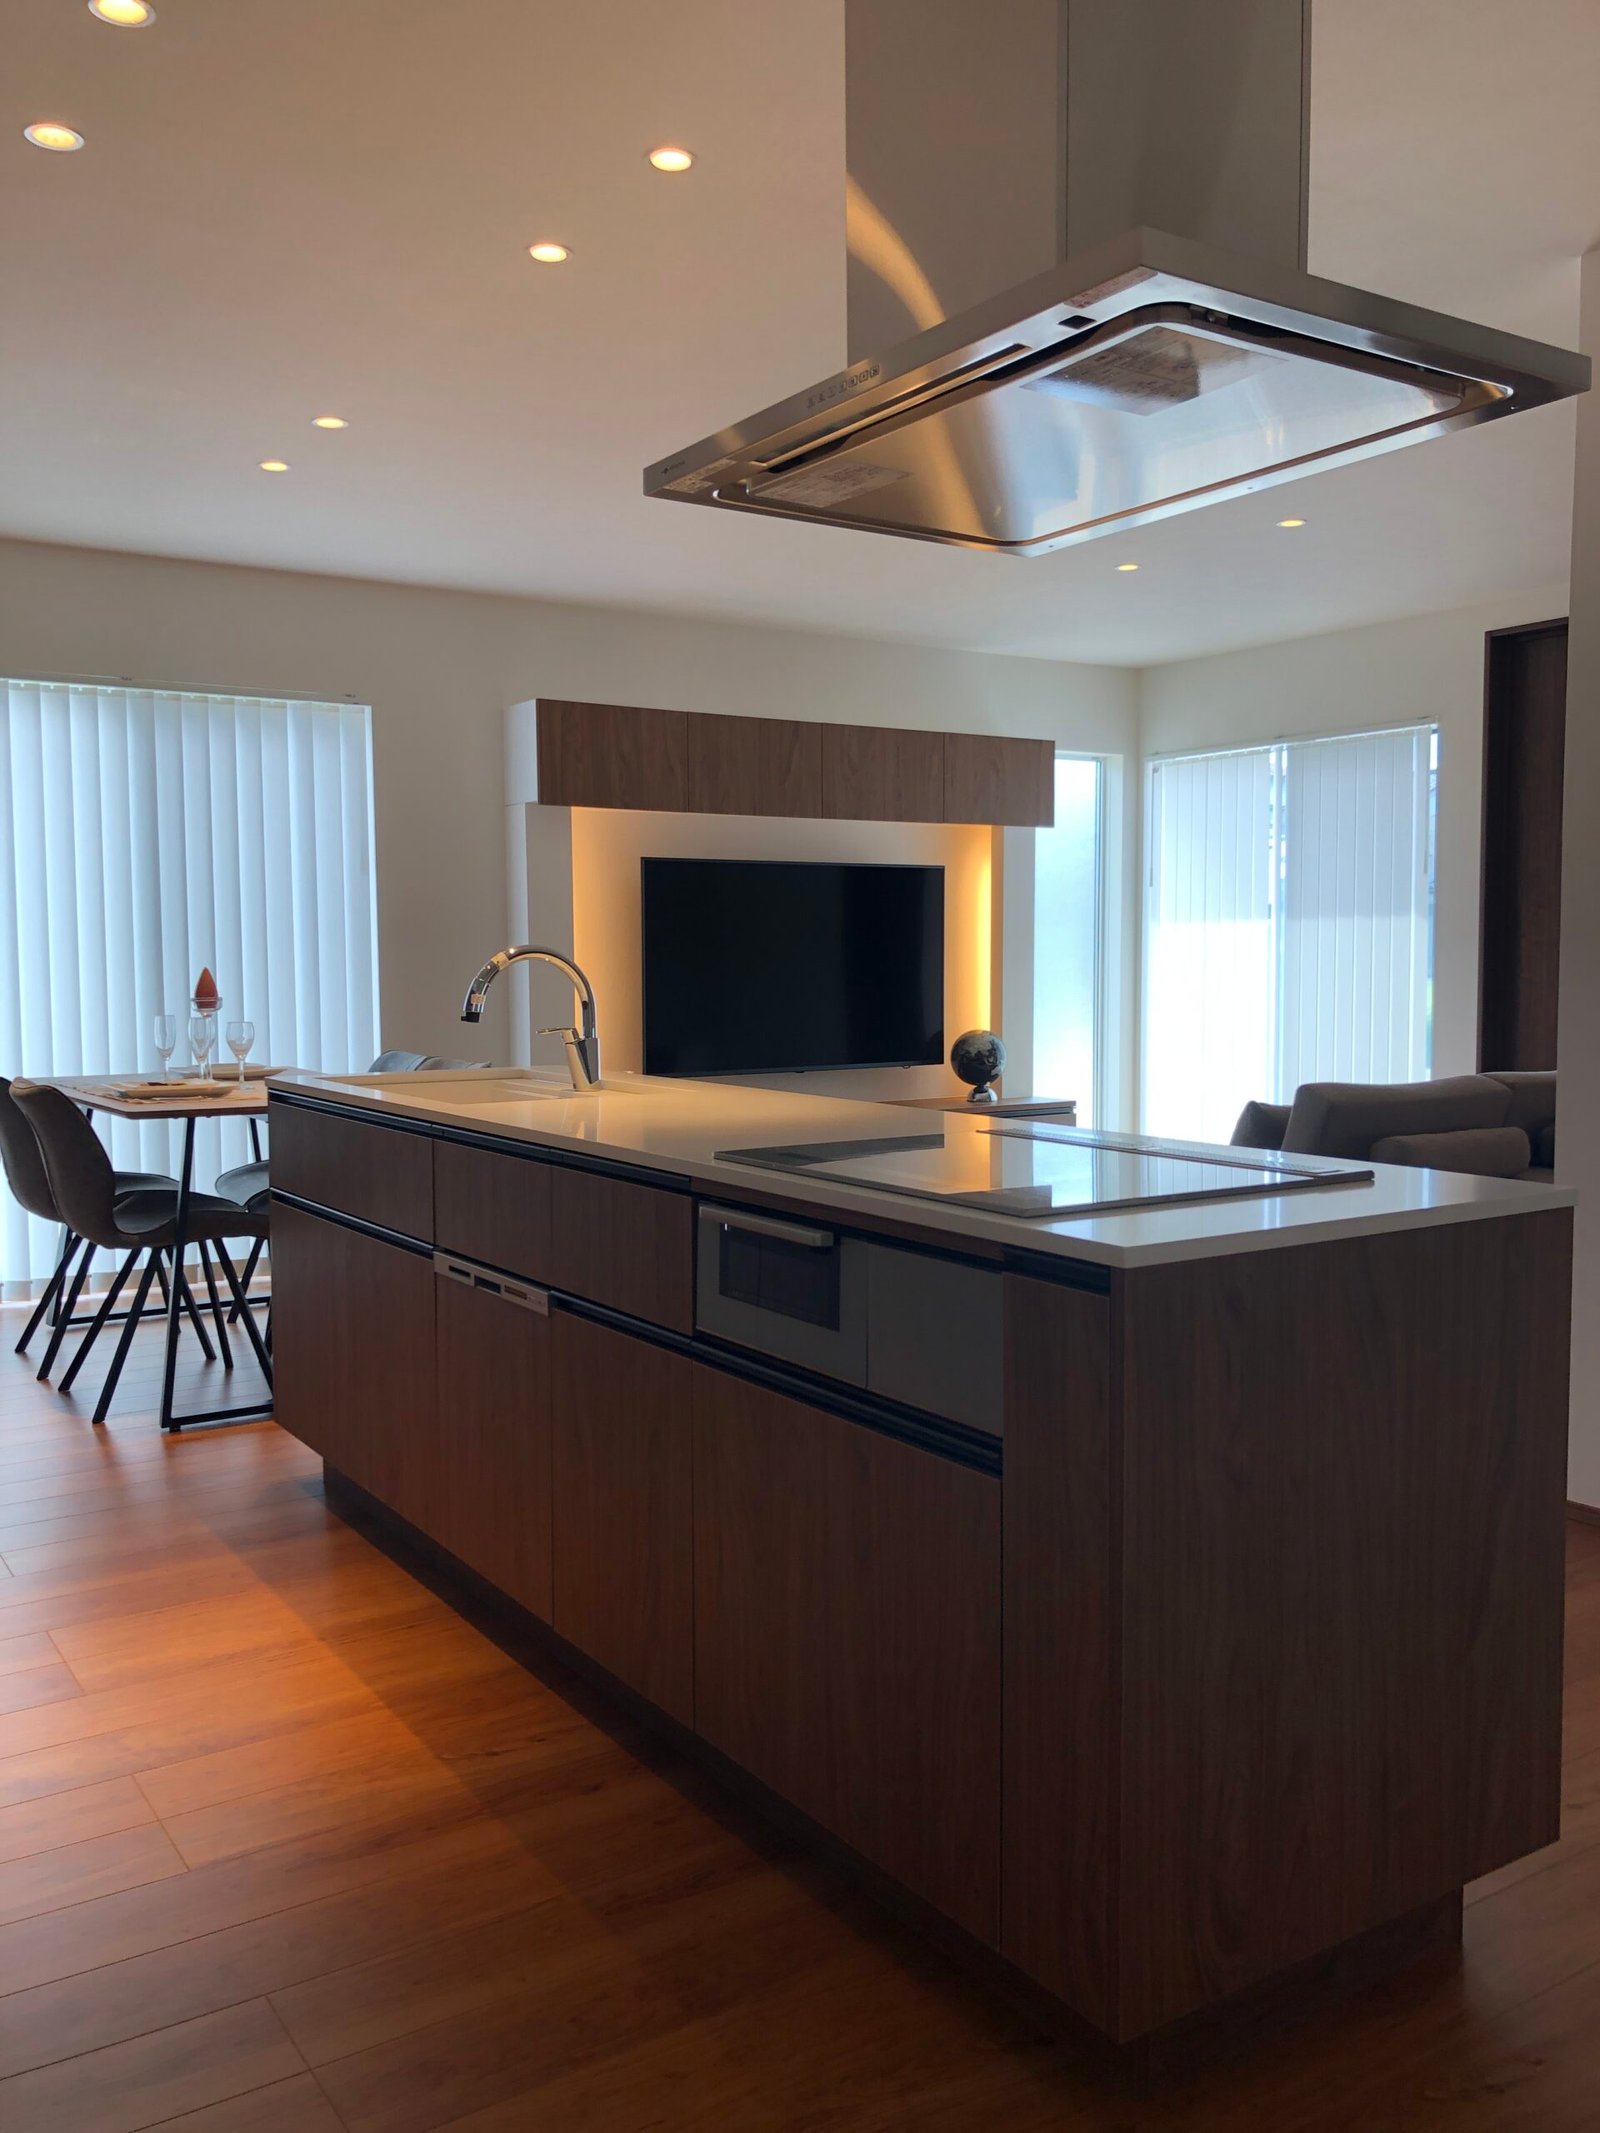
Cabinet doors come in various styles, significantly impacting your kitchen’s overall look. Shaker cabinet doors, characterized by their clean lines and timeless appeal, remain a popular choice for both traditional and modern kitchens. On the other hand, slab doors offer a sleek, minimalist design, ideal for contemporary spaces. Glass-front cabinet doors add visual depth and display charm, perfect for showcasing beautiful dishware or decorative items. Each style has its unique aesthetic and functional benefits, catering to different tastes and kitchen layouts.

Materials Matter: Choosing the Right One
When it comes to cabinet doors, the material is just as important as the style. Wood remains a classic choice, providing warmth and natural beauty. Its versatility allows for a range of finishes and designs, from rich, dark mahogany to light, airy maple. MDF (Medium Density Fiberboard) offers a smoother surface, ideal for paint, making it a popular choice for custom colors and finishes. Plywood, known for its strength and durability, is often used for more robust construction. Lastly, glass inserts can be combined with any of these materials to add a touch of elegance and openness to your kitchen cabinetry. Understanding the properties of these materials helps in selecting the right cabinet doors for your kitchen’s functionality and style.
Section 2: Repairing Kitchen Cabinet Doors
Subsection 2.1: How to Repair a Cracked Cabinet Door
Step-by-Step Repair Guide
Encountering a crack in your cabinet door can be disheartening, but fear not! Start with a clean surface, removing all dust and debris from the crack. Next, apply wood glue meticulously inside the crack, ensuring full coverage. Use a clamp to bring the cracked edges together tightly; this pressure is crucial for the glue to set correctly. Allow the glue to dry completely, typically overnight. After the glue has dried, remove the clamp and sand the repaired area until it’s smooth. Finally, apply matching paint or stain to make your repair blend seamlessly with the rest of the cabinet door.
Preventing Further Damage
Regular maintenance is key to avoiding future cracks. Ensure your kitchen’s humidity levels are stable, as extreme changes can cause wood to expand and contract, leading to cracks. Tighten all screws and hinges regularly to prevent undue stress on the wood. Avoid hanging heavy items on cabinet doors, as this can strain the hinges and the wood itself. By following these steps and tips, you can not only fix a cracked cabinet door but also extend the life of all your kitchen cabinet doors.
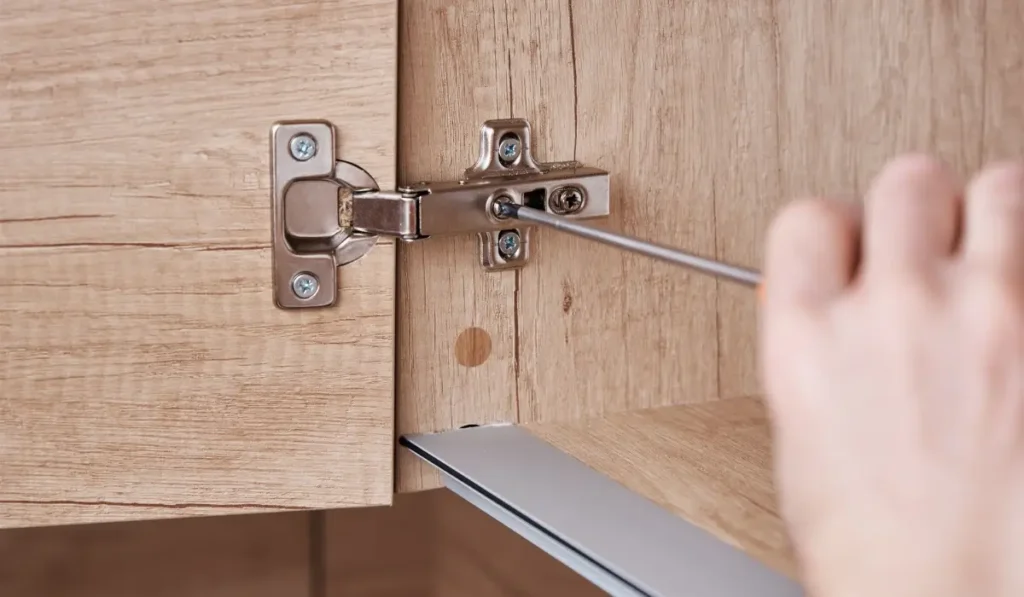
Subsection 2.2: How to Fix a Broken Cabinet Door Hinge
Tools You’ll Need
Before diving into repairs, ensure you have the right tools on hand. You will need a screwdriver, new hinges (if the old ones are beyond repair), screws, a drill (optional for new screw holes), and wood filler. Having these tools prepared simplifies the process and makes your repair work more efficient.
Step-by-Step Hinge Repair
Firstly, identify whether the hinge is loose or completely broken. If it’s loose, simply tightening the screws may fix the issue. If screws won’t hold due to stripped holes, remove the hinge. Next, fill the stripped holes with wood filler, let it dry, and then drill new pilot holes. If the hinge is broken, remove it and replace it with a new one. When installing new hinges, ensure they align properly with the cabinet door and frame for smooth operation. Lastly, test the door’s swing and make adjustments as needed. Proper installation and regular checks can prevent future issues, ensuring your cabinet doors function seamlessly. Regular maintenance and timely repairs keep your kitchen both functional and beautiful, extending the life of your cabinetry significantly.
Subsection 2.3: Solutions for Common Issues
Peeling Surfaces
Peeling can mar the appearance of your cabinet doors, especially with laminate and veneer finishes. Begin by cleaning the area thoroughly. Next, apply a thin layer of adhesive under the peeling section. Press down firmly until the surface is smooth again. Use a roller for even pressure, ensuring the laminate sticks properly. For best results, consider sealing the edges with a waterproof sealant to prevent future peeling.
Cracked Panels
Cracks in cabinet doors can detract from the overall look of your kitchen. If the crack is small, filling it with wood filler and sanding the area smooth may suffice. For larger cracks, especially in solid wood doors, a more involved repair may be needed. Gluing and clamping the cracked area overnight can effectively mend the damage. After the glue has dried, sand the area and refinish it to match the rest of the cabinet.
Doors That Fell Off
Cabinet doors can fall off due to loose or damaged hinges. First, determine if the hinge or the cabinet frame is at fault. If the screws are loose, tighten them. If they won’t hold, use larger screws or plug the holes with wood filler and re-drill. For damaged hinges, replace them with new ones of the same size. Ensure they are properly aligned and tightened.
When to Call a Professional
While many cabinet door issues can be DIY projects, some problems require professional attention. If you encounter structural damage, complex cracks, or issues with specialty materials like high-end wood or glass, it’s time to call a professional. Additionally, if repeated attempts at repair have failed, a professional can provide a more permanent solution, ensuring the longevity and functionality of your kitchen cabinetry. Recognizing when to call in expert help can save time and prevent further damage to your cabinet doors.
Section 3: Adjusting and Maintaining Cabinet Doors
Subsection 3.1: How to Adjust Cabinet Doors
Tools and Methods for Precision
Ensuring your cabinet doors align perfectly not only enhances the look of your kitchen but also ensures they function smoothly. For this task, you’ll need a screwdriver, possibly a drill, and a level. Soft close doors, in particular, might require a special adjustment tool depending on the hinge type.
Step-by-Step Adjustment
Start by examining the hinges. Most have screws for vertical, horizontal, and depth adjustments. If the door is too high or low, turn the vertical adjustment screw. For doors sticking out or sitting too deep, tweak the depth screw. And if the doors are not aligned side by side, adjust the horizontal screw. For soft close doors, look for a small adjustment lever on the hinge. Sliding it will change the closing speed.
Regular Maintenance
Maintaining your cabinet doors involves checking the screws and hinges periodically for tightness. Clean the doors with a mild cleaner to keep them looking new and prevent buildup that can affect function. For wood doors, apply a conditioner annually to keep the material from drying out and cracking.
Knowing When to Adjust
Adjust your cabinet doors whenever you notice misalignment or improper closing. Regular checks will keep them in optimal condition. Remember, small adjustments can make a big difference in the overall feel and function of your kitchen.
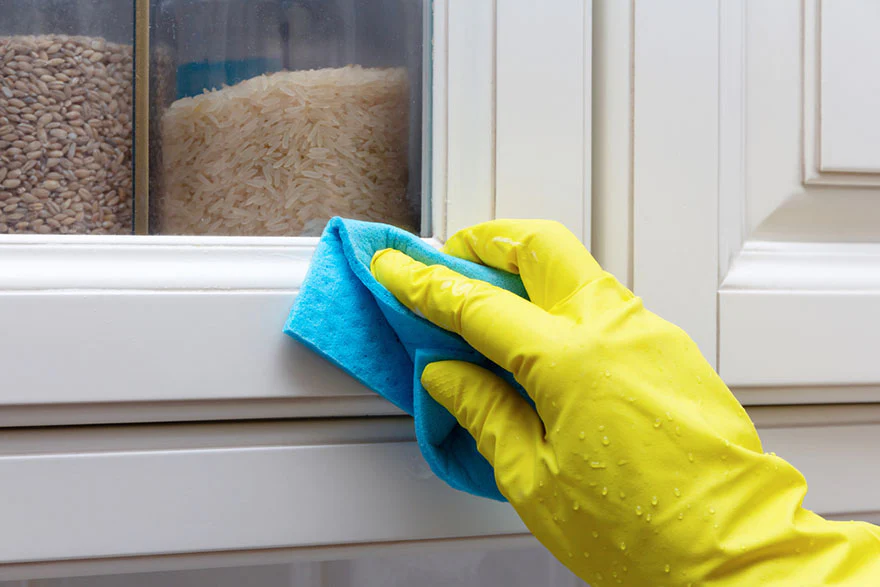
Subsection 3.2: How to Clean and Maintain Wood Cabinet Doors
Effective Cleaning Solutions
Wood cabinet doors add warmth and elegance to any kitchen, but they require proper care to maintain their beauty. For regular cleaning, a solution of warm water and mild dish soap is effective and gentle. Dip a soft cloth into the mixture, wring it out well, and wipe the doors to remove dirt and grease. For tougher stains, a mix of baking soda and water can act as a gentle scrub. Always wipe with the grain and dry with a clean cloth to prevent water damage.
Routine Maintenance Tips
Regular maintenance extends the life of your wood cabinet doors. Every few months, apply a good quality wood polish to nourish the wood and restore its shine. Avoid using harsh chemicals or abrasive cleaners, as they can strip the finish. Check the hinges and hardware periodically, tightening any loose screws. Protect your cabinet doors from excessive moisture and direct sunlight, as these can cause warping and fading. By adhering to these care tips, your wood cabinet doors will remain in excellent condition, keeping your kitchen looking its best.
Section 4: Making New Cabinet Doors
Subsection 4.1: Crafting Cabinet Doors from Plywood
Embarking on a DIY project? Start with a comprehensive materials list: plywood sheets, wood glue, screws, sandpaper, paint or stain, and the necessary tools like a saw, drill, and screwdriver. First, measure and cut the plywood to the desired size. Apply wood glue to any frame pieces, attaching them securely. Once dry, sand down any rough edges for a smooth finish. Lastly, apply your chosen finish, painting or staining to match your kitchen’s aesthetic.
Subsection 4.2: Creating Shaker Cabinet Doors
Shaker cabinet doors offer a timeless look. For this DIY, you’ll need flat plywood panels, wood strips for the frame, glue, clamps, and finishing supplies. Assemble the frame around the plywood panel, securing with glue. Clamp until dry. Sand, paint, or stain as desired. Adding hardware will give your doors functionality and style.
Subsection 4.3: Assembling Sliding and Glass Cabinet Doors
Interested in modernizing? Consider sliding or glass doors. Gather aluminum or wood tracks, glass or plexiglass panels, and mounting hardware. Cut the tracks to length and install at the cabinet’s top and bottom. Slide the glass or plexiglass into the tracks, securing with the provided hardware.
Section 5: Installing and Replacing Cabinet Doors
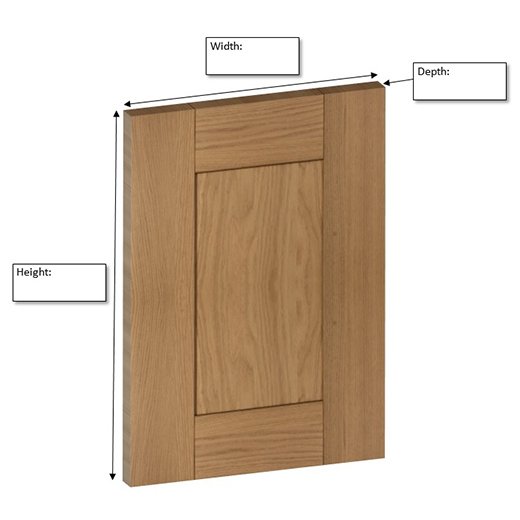
Subsection 5.1: Measuring and Ordering Cabinet Doors
Accuracy is key when measuring for new doors. Record height and width, adding a small gap for hinges and movement. Research suppliers for custom doors, considering materials, finishes, and design. Ordering the correct size and style will save you time and ensure a cohesive look.
Subsection 5.2: Installing Hinges and Mounting New Doors
Installation begins with the right tools and hinges. Mark hinge placements accurately on both the door and the cabinet frame. Drill pilot holes, then screw the hinges in place. Hang the doors, adjusting screws for alignment and gap. Proper installation ensures longevity and ease of use for your new cabinet doors.
In these sections, we’ve covered everything from creating to installing cabinet doors. Whether opting for a DIY project or ordering custom pieces, your revamped kitchen will surely impress. With the right tools, materials, and a bit of patience, you can achieve a professional look while adding personal touches to your space.
Conclusion: The Heart of Your Kitchen
Well-maintained and expertly crafted cabinet doors not only enhance the beauty of your kitchen but also ensure its functionality and longevity. Through this guide, we’ve explored how to repair, adjust, and even create cabinet doors, covering materials from wood to MDF and styles from classic to contemporary. Remember, regular maintenance and timely adjustments can prevent small issues from becoming major problems.
However, while many cabinet door issues can be handled with DIY approaches, certain situations call for professional expertise. Complex repairs, intricate designs, or extensive damage might be beyond the scope of home repair. In these cases, don’t hesitate to contact a professional. Skilled craftsmen can provide solutions that ensure safety, functionality, and aesthetics.
We hope this guide empowers you to tackle your kitchen cabinet door projects with confidence. Whether you’re adjusting hinges, repairing cracks, or crafting entirely new doors, remember that these elements are crucial to your kitchen’s overall appeal and functionality. Should you face challenges beyond your comfort level, reaching out to a professional can ensure that your kitchen remains the heart of your home, both beautiful and functional.